

Getting started
In one of my previous blogs of last year I talked about Automation Tasks which are based on Azure Logic Apps and it is great to see that more and more Integrations with Logic Apps become available or are possible within Azure, if you know where to look! One of such features is Alerting via Logic Apps, which we will dive into in todays blog.
Most environments always have some form of Alerting configured, for example to measure CPU usage, Database storage, API failures and so on. In Azure it is possible to configure such Alerts as well and with it you can get notified on different ways such as SMS, Email, Phone and more. But sometimes you might want to automate some of the responses to these Alerts, with this Logic Apps comes into the picture as it is possible to send Alert messages to your Logic App and use the Alert as input for further workflows, like: Scaling to a certain tier, instead of using default autoscaling.
Let's check how we can configure these Alerts and you can start making your own workflows with it!
Configuring the Alerts
To get started navigate to the Azure portal and sign-in with an account who has Contributor or other access privileges to be able to configure Alerts. Navigate to any of your resources for which you would like to configure any Alerting, in my case this would be Cosmos DB.
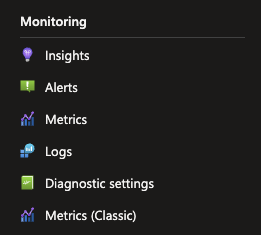
In the blade on the left-hand side of the screen you will find the option called Alerts underneath the Monitoring category.
Click on it and you will be greeted with a notification to Create an Alert rule, if non have been set already. Click on Create alert rule to continue.

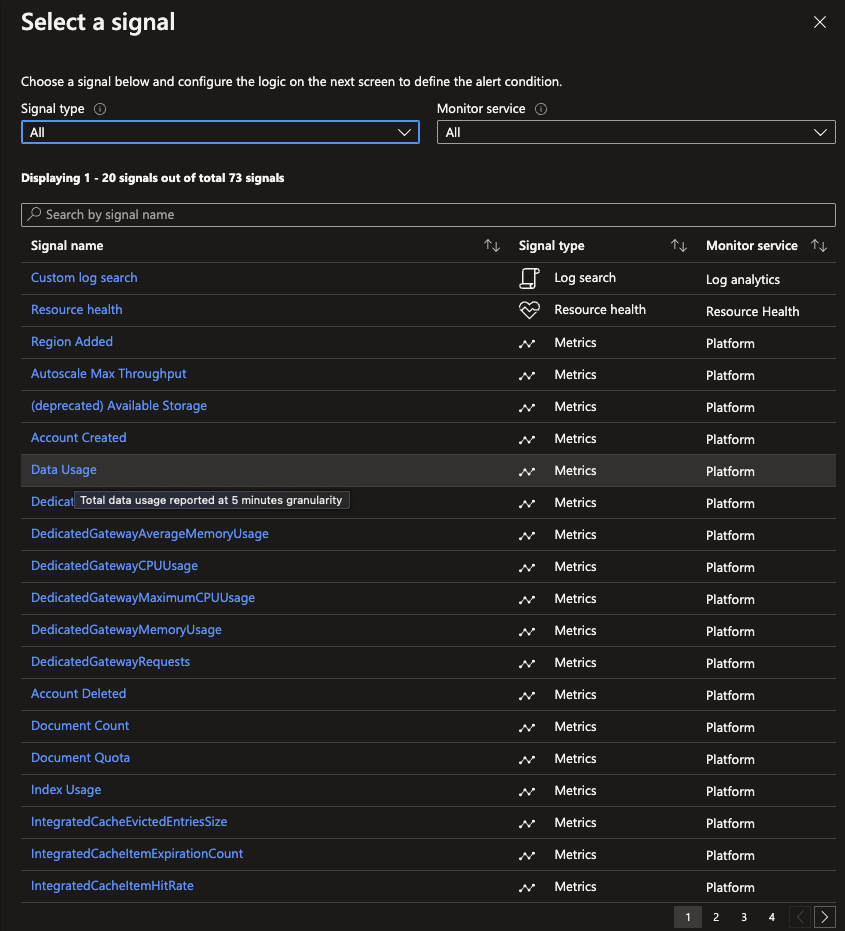
You will be prompted to select one of many Signals on which you want to Alert. For my use case of Cosmos DB I'm using the Data usage signal.
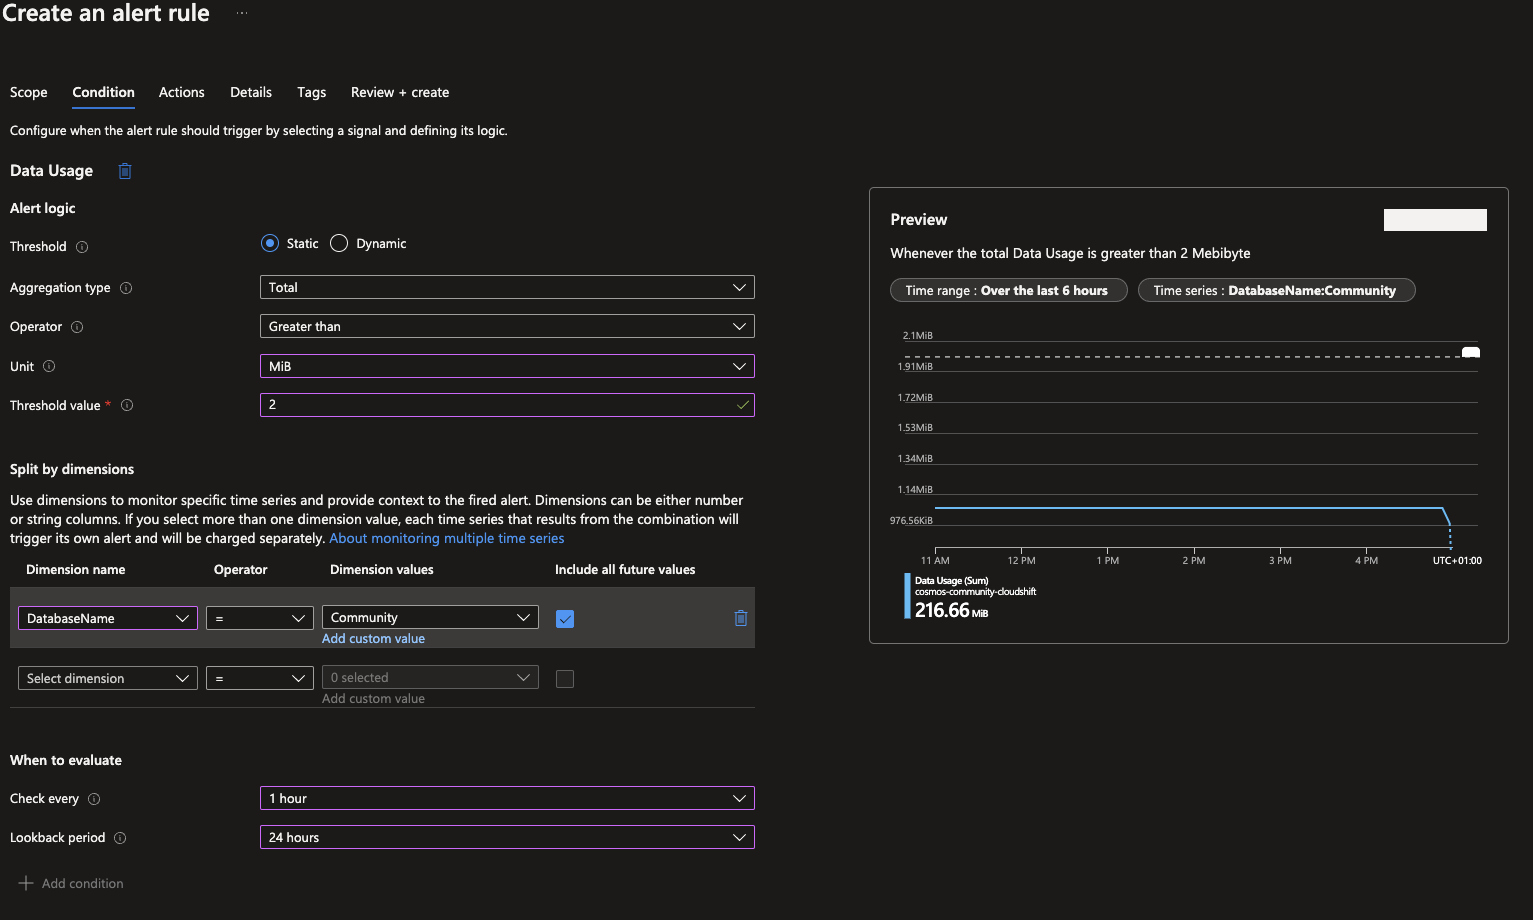
After selecting your Signal, you can configure it accordingly to trigger on certain events happening and make it conditional to fit different circumstances. When configured, don't forget to also set the values for when you would like to check on your configure measurements, as it will not by default trigger on the event itself but check periodically. This can of course be set to seconds or minutes, but that is totally up to your requirements. When done continue to the Actions tab.
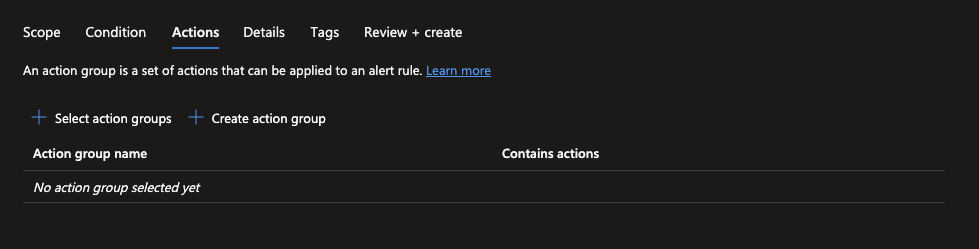
In the Actions tab you can ether select a existing action group or create a new one. In our case it will be creating a new one by clicking on + Create action group.
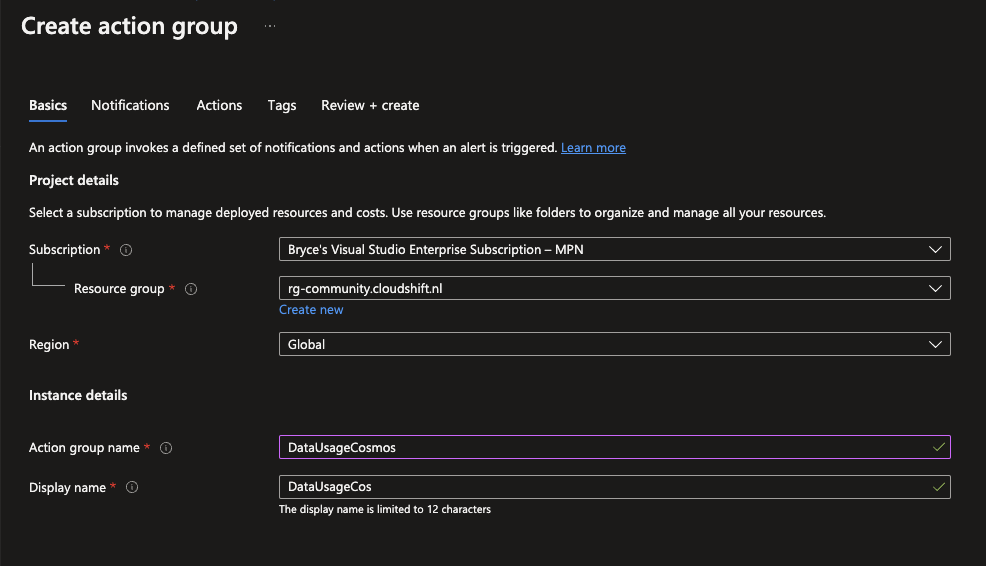
When creating your action group, you will be asked to specify some basic information like a name for your action group. Give it a proper name, so that very one will know what it is used for. Next up their are two options, one would be to go to the Notifications tab. Within this tab you can configure notifications via SMS, Phone, Email and more, but not the Logic Apps itself. For this we need to go to the Actions tab.
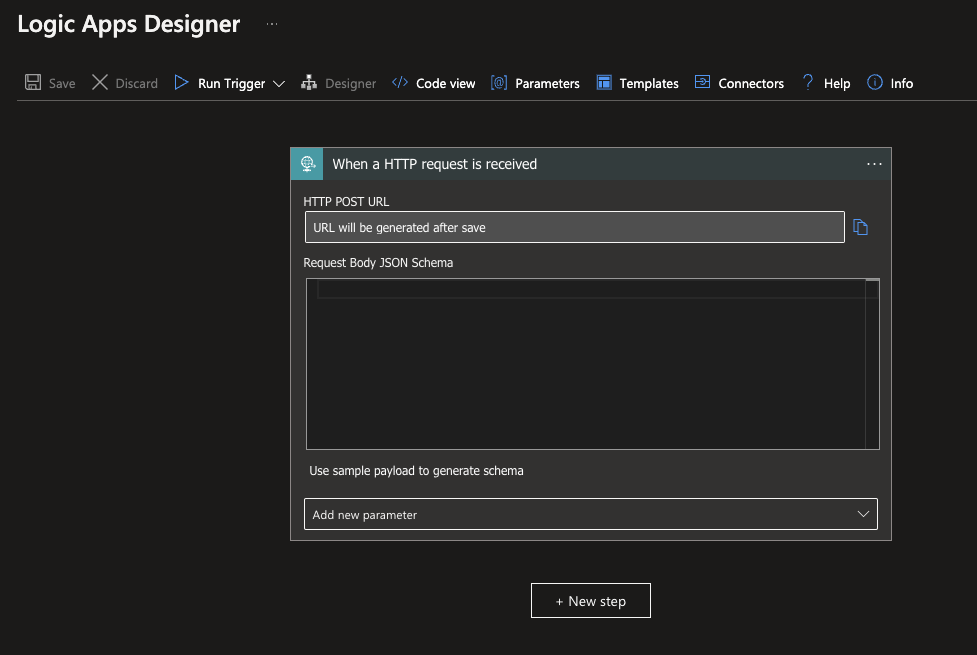
If you haven't created a Blanc Logic App yet, do so in a separate window and let give it the When a HTTP request is received Trigger. Leave request body Blanc for now, as we will get the correct sample payload later on.
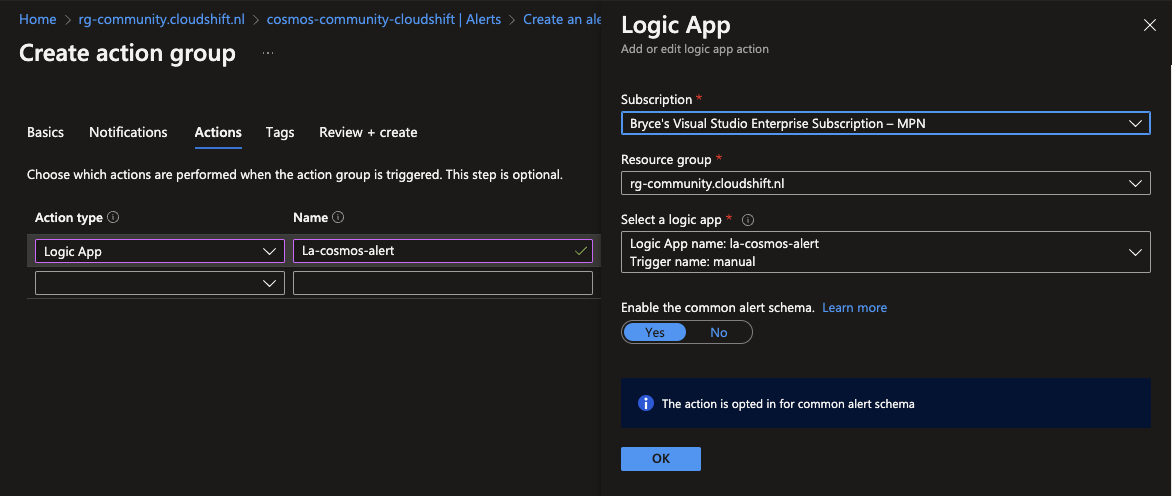
In the Actions tab you will be able to select Logic Apps as a option in the Action type dropdown. Give it also a Name that suits, I'm using the name of the Logic App itself in my resource group to make it clear which Logic App is being used without having to open the Action itself.
You will also be asked to select your Logic App and specify if you want the common alert schema or not. If you use the common version the format of the JSON should always be the same, which is great for expecting certain inputs, it not you can select No, but would then be best to leave your Logic App Trigger Blanc as well.
When set, click on OK and continue to Review + Create and click on Create.
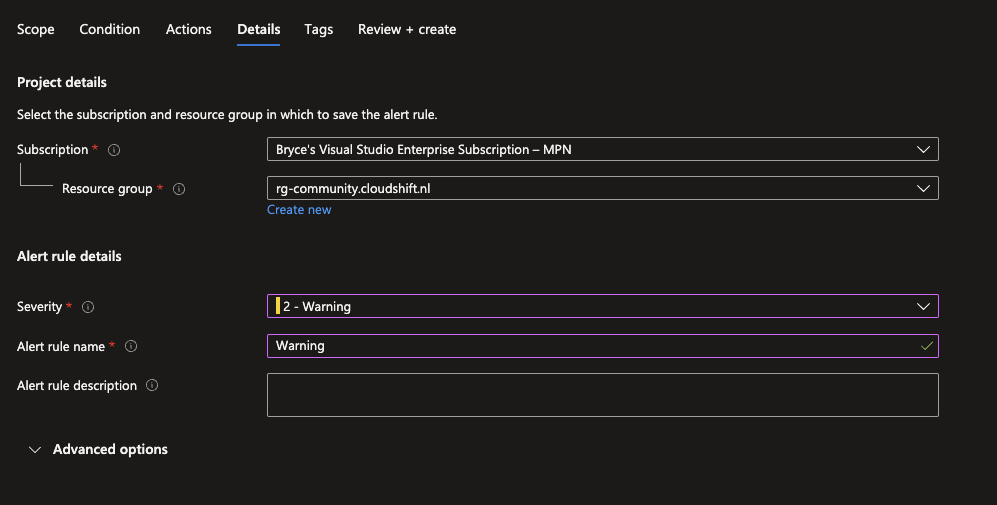
With this your action group is configured but we still need to finish the creation of the Alert as well. Go to the Details tab and specify the severity of the your Alert as well as a name for it. When done continue to Review + Create and click on Create.
Testing your Alert
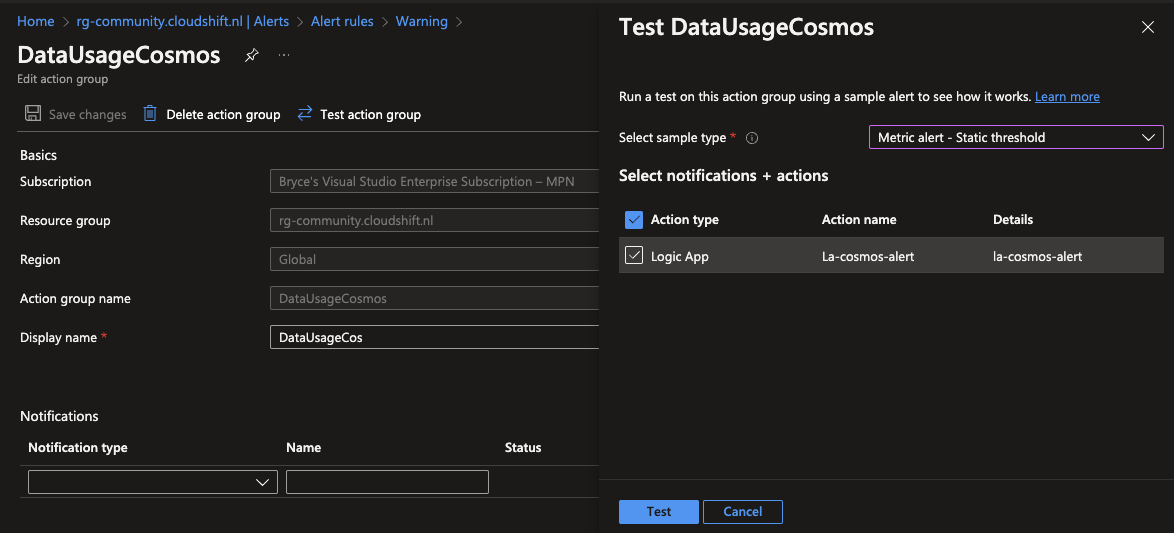
Since it would be preferable to know which kind of JSON input you can expect for your Logic App we can send a test request to it and extract the body as payload from there. To do so we will have click on the Alert Rules tab inside of the Alert of your selected resource. In the list show, your named warning should be shown. Click on it and you will see a similar screen as shown below. Click on Test action group, select your Logic App and click on Test. A dummy Alert will now be send to your Logic App.
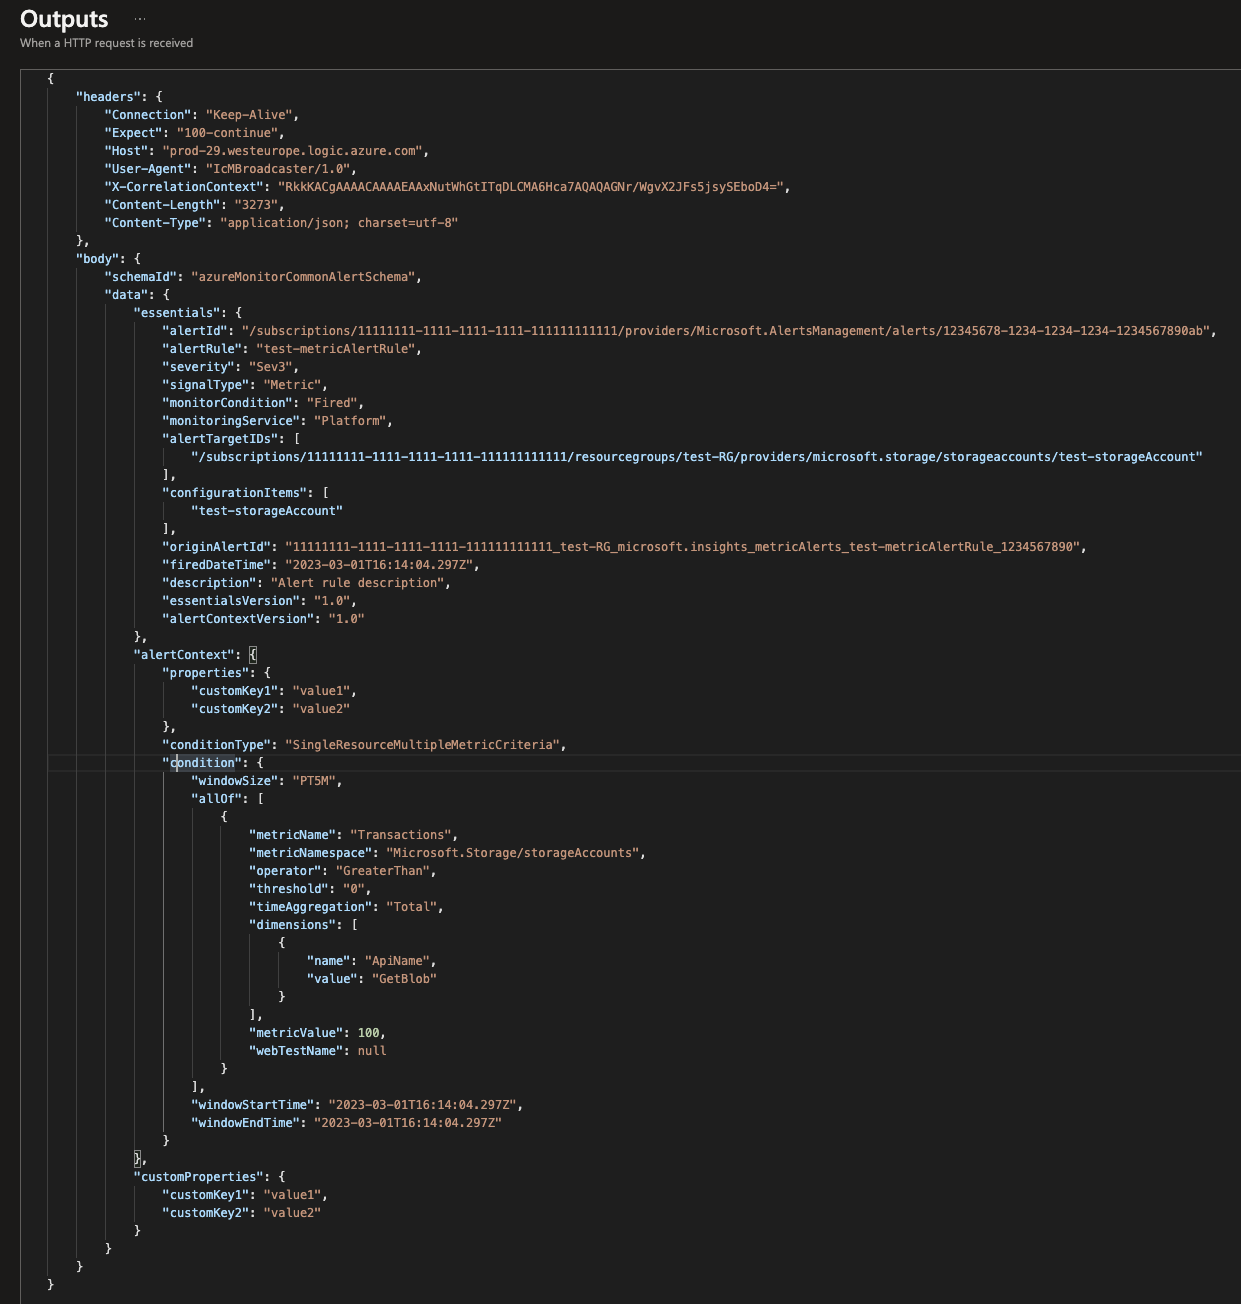
Navigate to your Logic App and in the Run History you should see that it has ran. When opening the run and checking the outputs, a similar example as shown below should be received by the Logic App. Select everything the "body" of the request and paste this as Payload for your When a HTTP request is received Trigger.
With this all the basics should be configured to continue upon the input and create your own Workflows to automate certain Alerts!
What's next?
In my next blog I will dive back in my Data engineering roots with a nice touch of DevOps and deployments. Enjoy your weekend and till next time!