

Getting started
A while back I did a Proof of Concept (PoC) with one of our customers on Azure Data Explorer to see if it was already a mature product to use for Analytical purposes. For this PoC multiple scenarios and use cases were defined on a technical level to which it needed to meet the specifications. One of those was to add External tables, but from an Azure SQL Database and that wasn't as straight forward as we might have hoped. At that moment no Microsoft documentation was available so let go through it and see how it needs to be done!
The regular way (that didn't work)
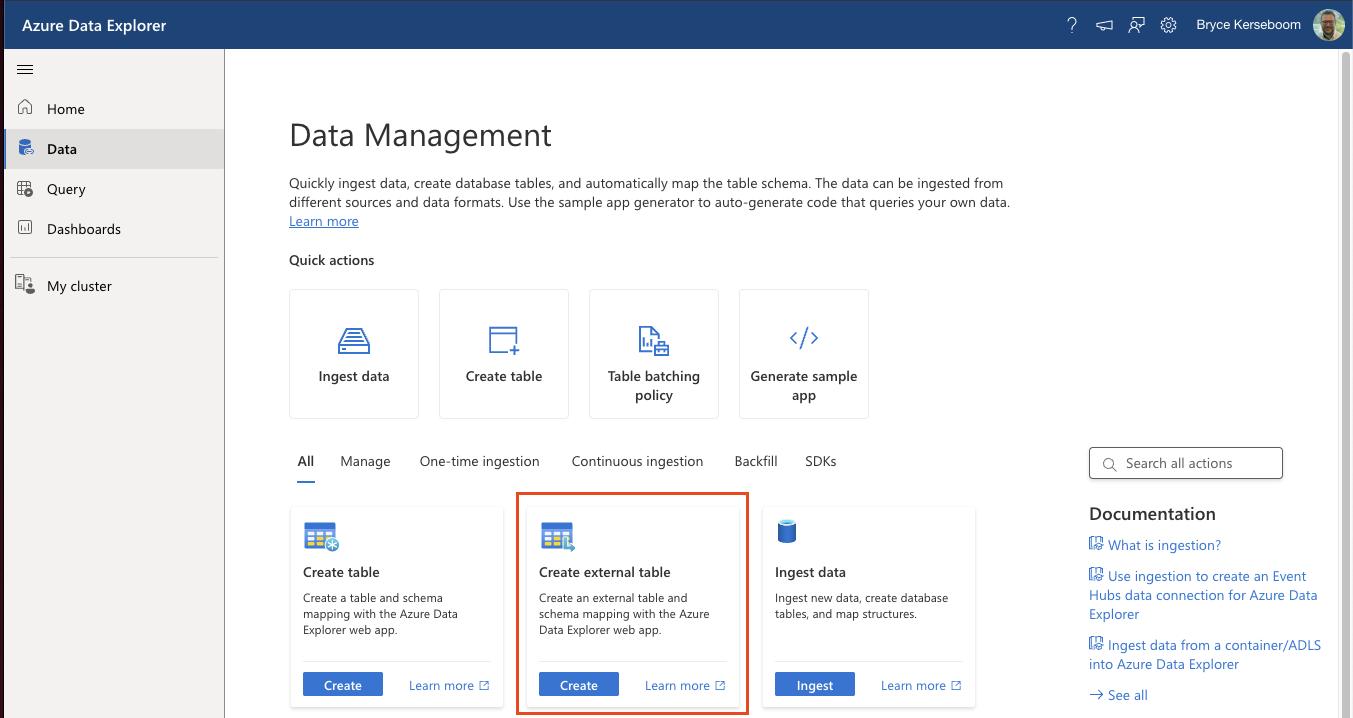
If you are used to work with External Tables in Azure SQL Databases or perhaps in Synapse, you might know that you could connect to all kind of different sources that are available via PolyBase. With this mindset we also started the PoC as participants were familiar with this concept. Within Azure Data Explorer (ADX) it is possible to easily add External Tables via the interface and so we moved along.
Within the ADX interface you can go to the Data tab (Data Management) you will find the Create external table option. Clicking on Create will start the process.
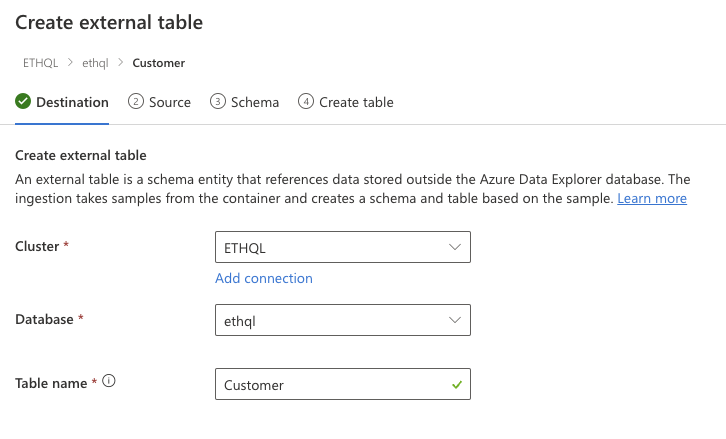
The first step in the process of creating an External Table is to set its Destination. The Cluster and Database will be filled in automatically if you have a single one available, if you have multiple you can choose which one you want your External Table in.
You will need to specify a Table name, this will be the name of your external table within ADX. After this you can continue to define your Source.
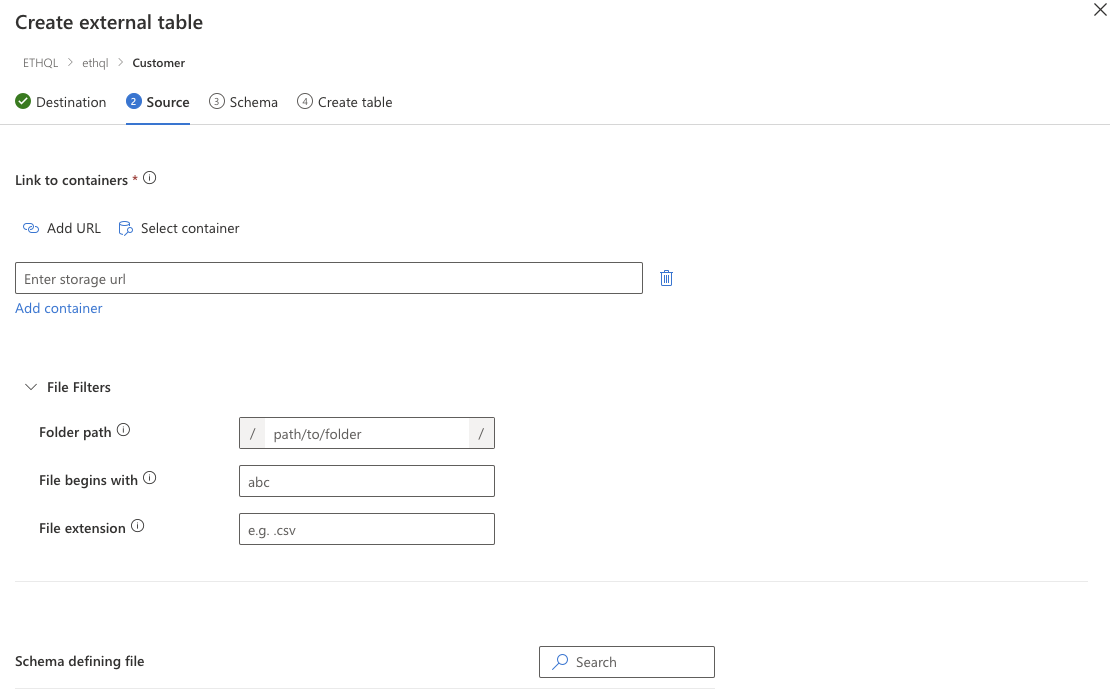
At the Source step, you will be asked to define an URL or to select a container. But there is No option for any other External Table sources, besides adding a Storage Account/ Data lake meaning the Interface will not help in accomplishing our goal of adding an External Table from an Azure SQL Database.
NOTE: This might change in the future!
Adding it by Code
Now it is possible to add a External Table from an Azure SQL Database by using code and even via System Managed Identity (MSI) for authentication purposes. For this we will need to do some steps and it all has to be done in code.
First up is to go to your Azure SQL Database from which you want to add an External Table. In my case I created an Azure SQL Database with sample data and make sure you have the correct permissions to add users and assign roles inside of the Database itself!
To enable MSI authentication for your ADX, you will have to add it to the Database. This can be done with the following code.
NOTE: Replace the name of the user with the name of your ADX resource!
CREATE USER ethql FROM EXTERNAL PROVIDER
GO
ALTER ROLE db_datareader ADD MEMBER ethql
GO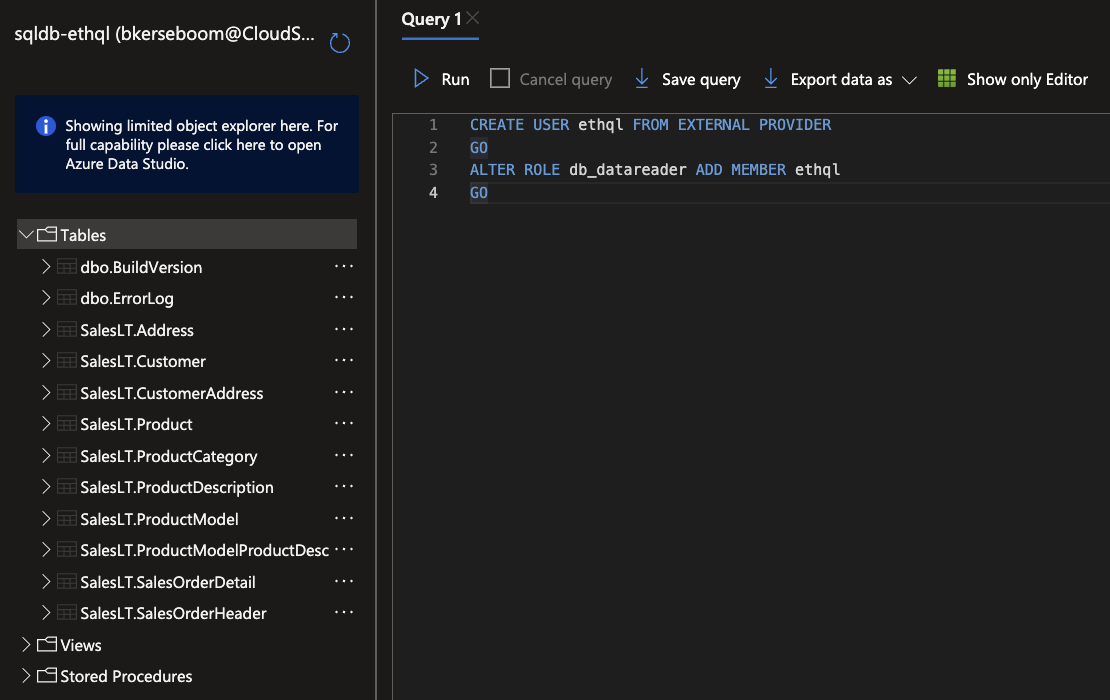
With ADX added as a User to your Azure SQL Database it is time to create your External Table inside of ADX itself. Go back to ADX and open the Query tab. Add a new Query by clicking on the + icon in the top left corner.
The following code is an example of how to accomplish creating a External Table. You will have to change the columns, data types, source table (with schema), Server URI, Database Name (Catalog) and User ID (Name your ADX user in the Database).
.create external table Customer (CustomerID: int, NameStyle: bool, Title: string, FirstName: string, MiddleName: string,  LastName: string, Suffix: string, CompanyName: string, SalesPerson: string, EmailAddress: string, Phone: string) kind=sql
table=[SalesLT.Customer]
(
   h@'Server=tcp:sql-ethql.database.windows.net,1433;Initial Catalog=sqldb-ethql;Persist Security Info=False;User ID=ethql;Authentication="Active Directory Integrated"'
)
with
(
   createifnotexists = true
) 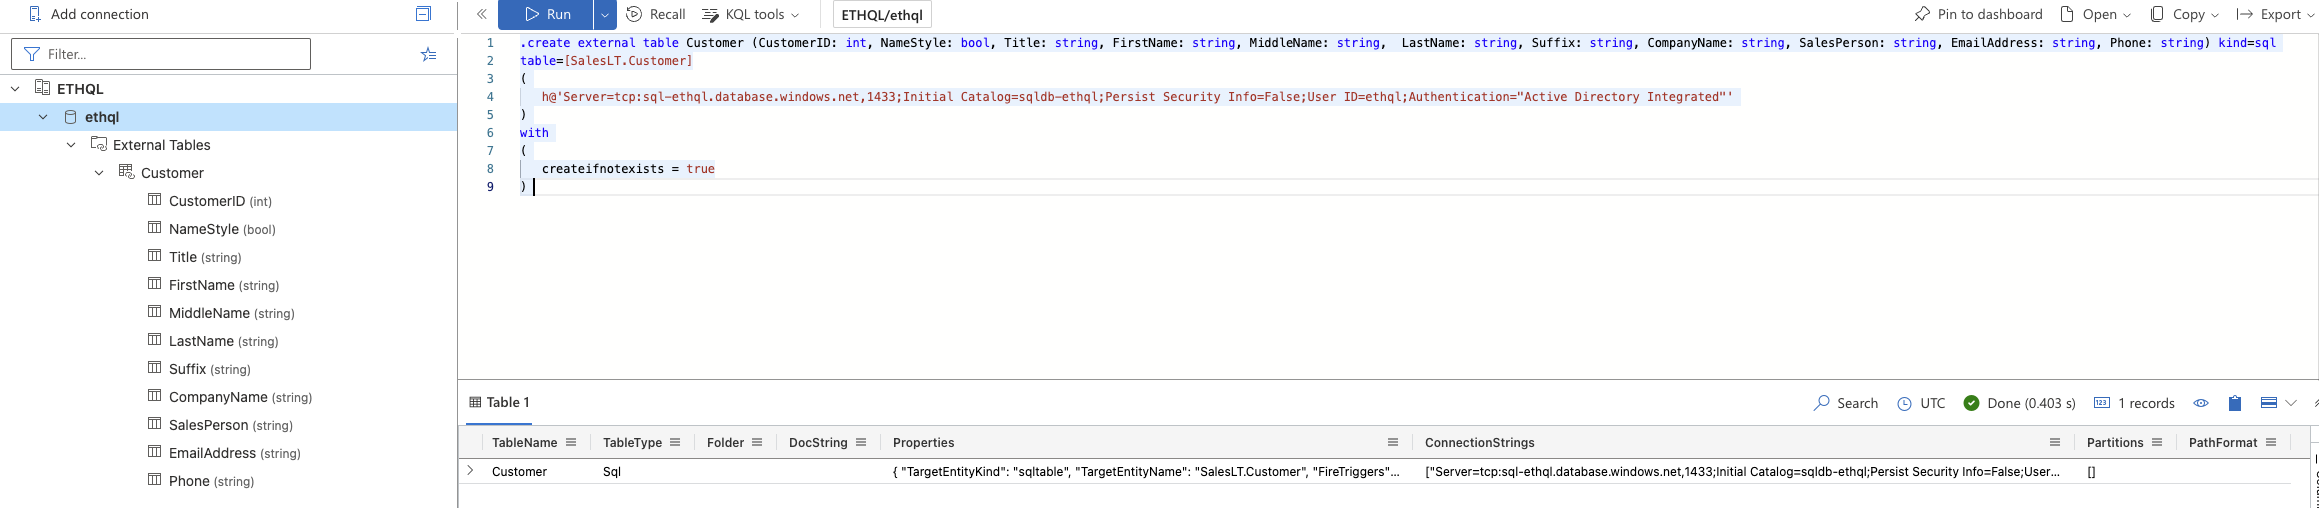
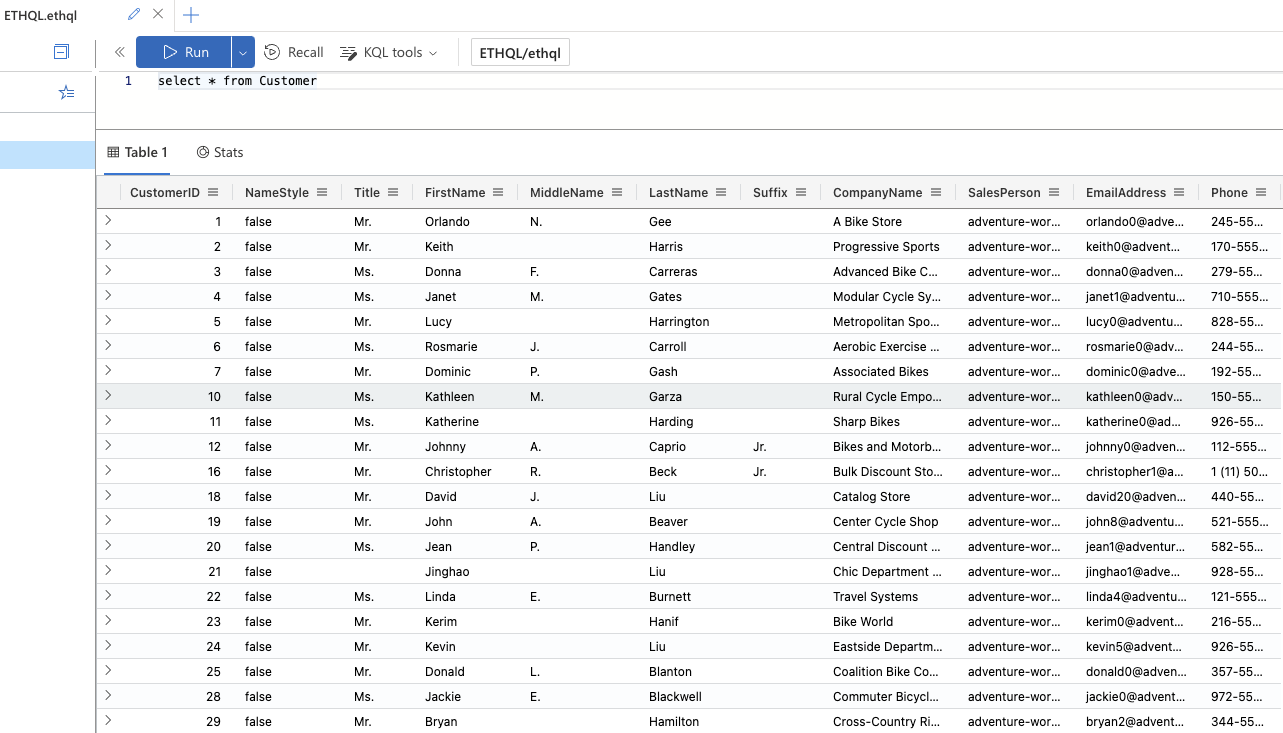
After making the required changes to the code above and executing it, you will be able to query your External Table data with SQL or KQL code!
What's next?
The past few blogs have been all about Data in Azure (with the exception of ChatGPT) and now it will be time again to look at some Logic Apps! Stay tuned for the next blog!