

Getting started
In small and medium businesses (SMBs), you will often find a Network Attached Storage (NAS). An NAS is great for a lot of things, but especially for file storage. Nobody likes their files to get lost or corrupted and therefore backups are a must, something we will dive into today.
Three weeks ago I purchased a new NAS myself, the Synology rs1619xs+, as an addition to my already present ubiquiti rack and network setup. Now I need to backup some files myself as well, and what would be a better place than Azure Storage?
To my surprise Synology offers a connector to Azure, to allow frequent backups to an Azure Storage Account. Let's check how this is done!
Configuring backups to Azure
The configuration process is quite straightforward. To start with, the Cloud Sync package needs to be installed on your Synology system. This can be done by going to the Package Center, searching for Cloud Sync and pressing Install. After it is installed, you can click on Open or open it via the menu.
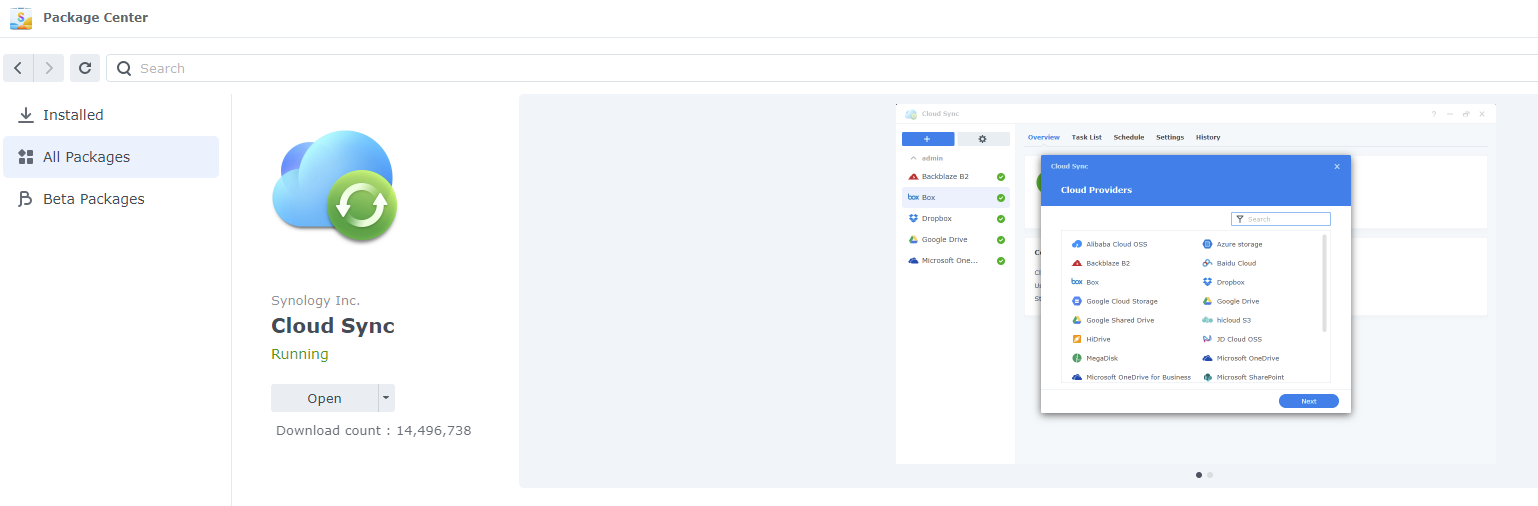
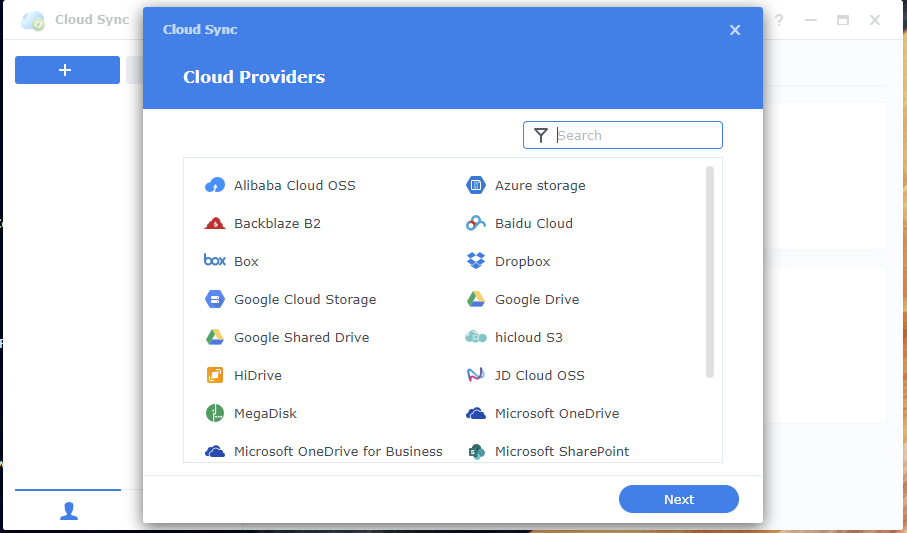
When no connections have been set up yet, you will be greeted with an interface to select your backup provider. In our case this will be Azure Storage, but many options are available, such as OneDrive and Sharepoint.
Before we continue further, we do need to have an Azure Storage Account that we can use for our backups. Create a Storage Account and configure it to your requirements for storing backups, or use an existing one.
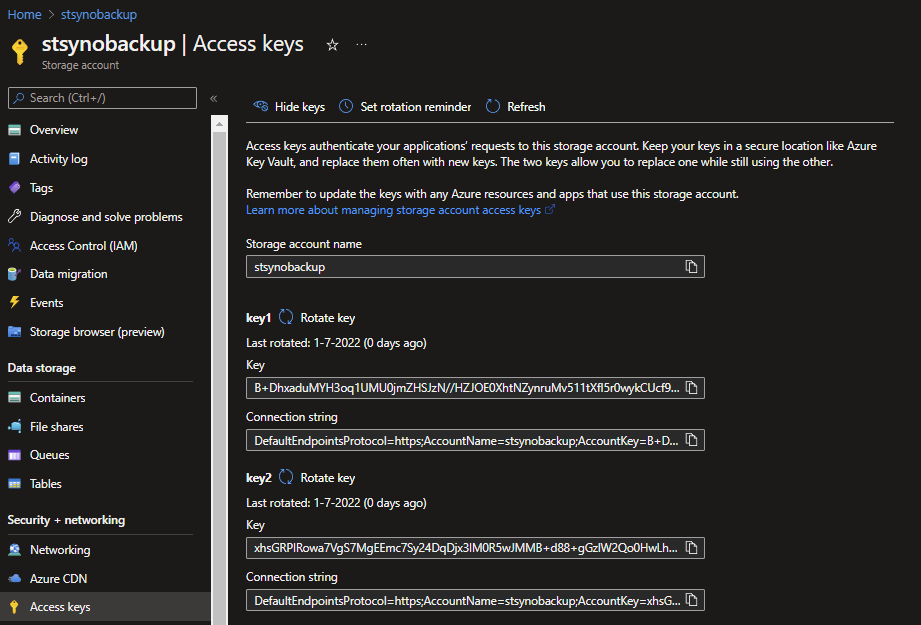
When your Storage Account has been created or you already have one available, navigate to it via the Azure Portal and go to the Access Keys tab underneath the Security + Networking category.
Here you will find 2 Access keys, of which we just need the first key. Copy it, so we can use it in our next step.
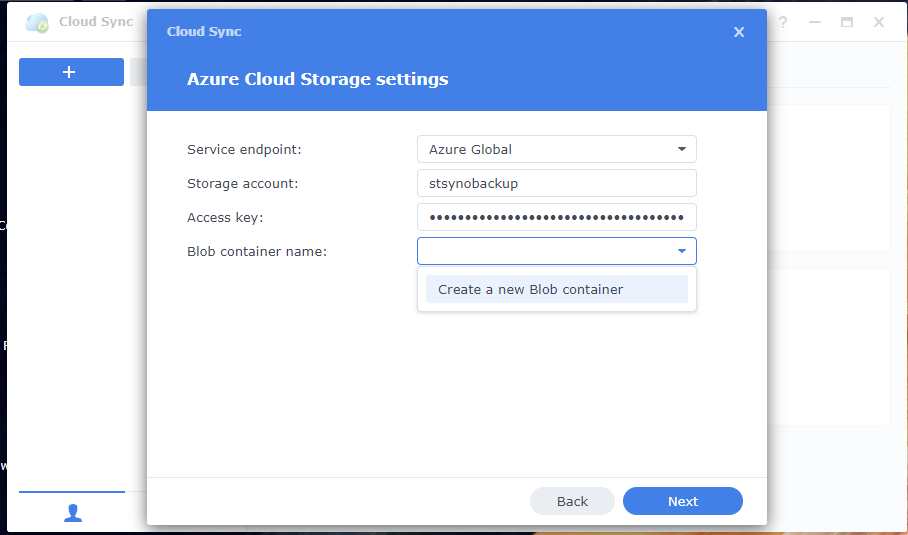
Moving back to your Synology panel, you will be asked to choose between some options for the Service Endpoint. In general the Azure Global option would be the one to use.
Fill in your Azure Storage Account name at the Storage Account field and paste you Access Key in the Access Key field.
If you've already got a Blob container available you will be able to select it, otherwise you can use the Create a new Blob container option to create a new one.
Now comes the part that we need to specify a file path on our Synology to upload towards our Azure Storage Account. In this example I used my Pihole docker container. You will also be able to specify a path within your Blob container if needed, else the Root folder option would suffice.
Besides folder paths, you can also define the Sync direction, which can be set to Bidirectional, from Local to Azure or from Azure to Local. In this case we want to backup to Azure, so we want to only Upload local changes only.
Last but not least you will be able to set some additional options such as:
- Consistency check;
- Data encryption;
- Data removal from Azure if it's not present anymore on local;
- Schedule settings, when does it need to run.

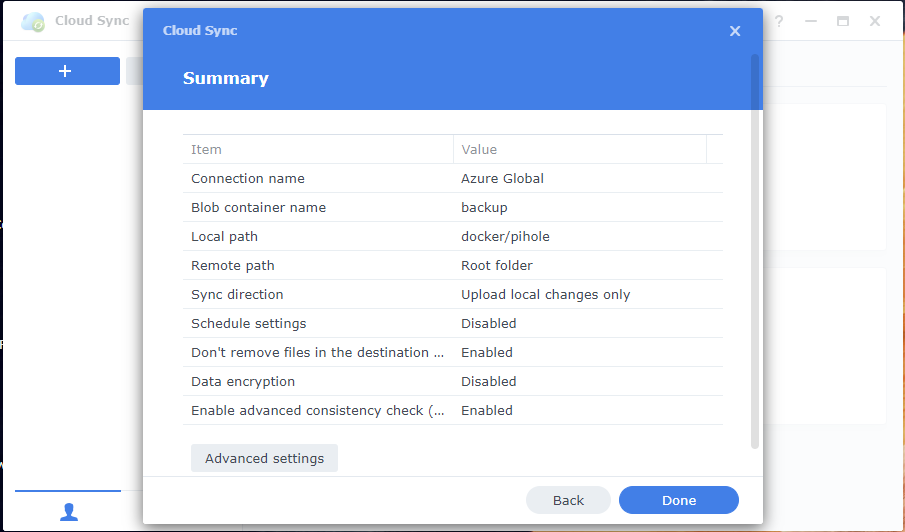
If you have set everything that is required and/or applicable to your use case, you will be able to check the Summary and complete the process by clicking Done.
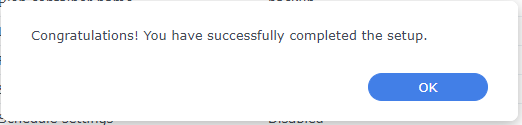
When the configuration is successfully completed you will receive a popup about it. If it fails for any reason, you will also be notified.
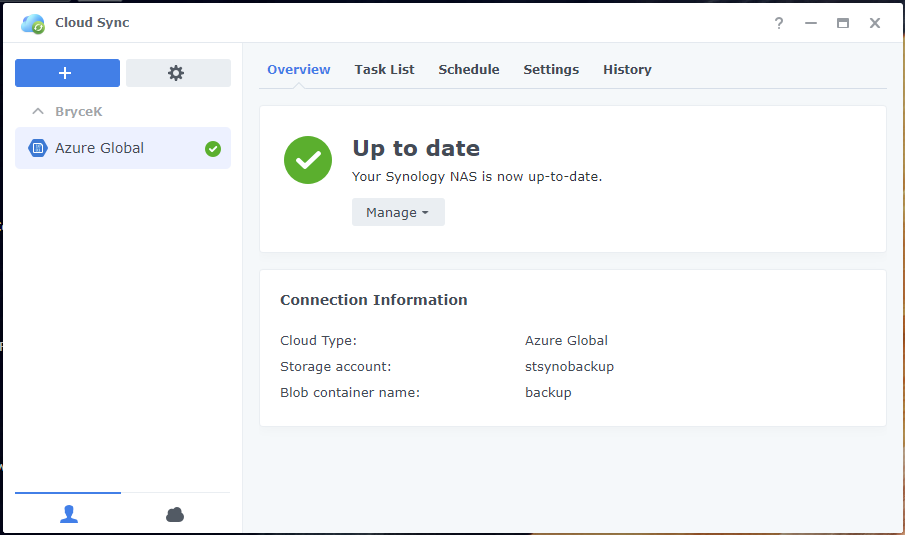
Afterwards you will be able to check the connection status via the Cloud Sync interface itself.
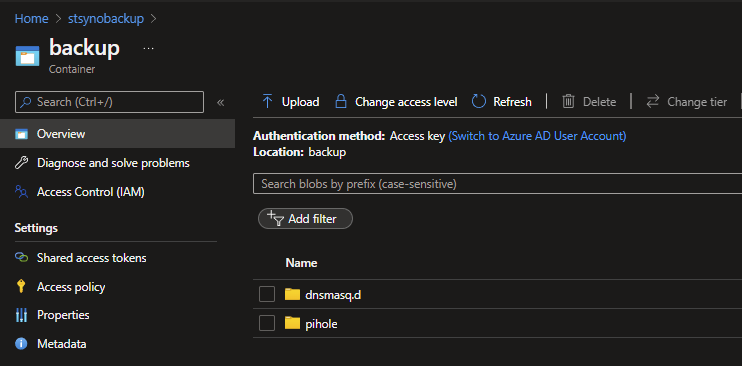
And when moving to Azure, you will see the folders and files synced to your specified Blob container.
With this you are set for backing up to Azure from your Synology!
What's Next?
Currently I'm in the middle of researching to authenticate Power BI to an Azure SQL Database or Azure Data Lake Gen2 via Managed Service Identities. If these findings lead to anything I will write about it next week, stay tuned!